Pimp My Limestone!
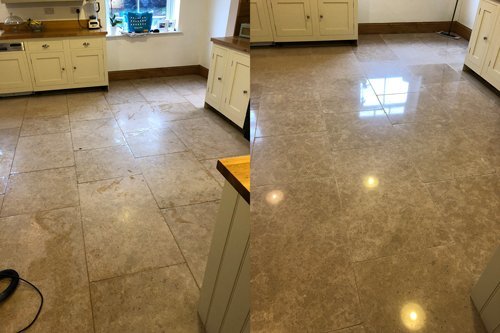
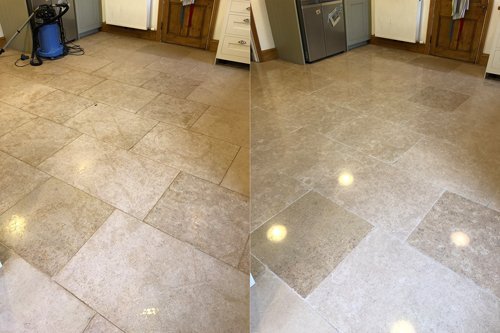
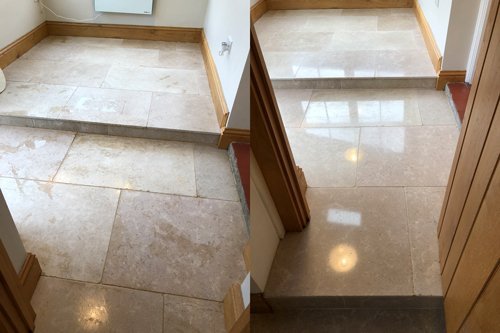
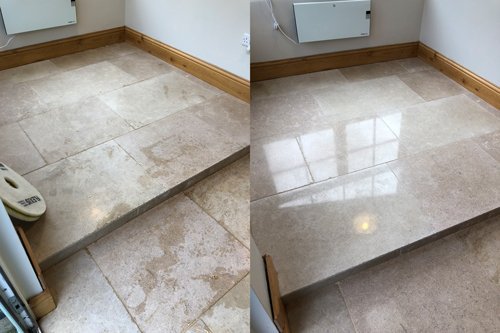
This week, we have been restoring a beautiful Seabed Limestone floor.
Now, this floor was a bit rough and droopy looking I would say.
It definitely needed an uplift!
Our customer wanted a subtle shine to the floor.
So our first task was to clean the floor and the grout lines.
Read all about our full floor cleaning process 👈here.
Then we honed the floor, which basically means we removed a very thin layer off the surface of the stone.
By doing this, you end up with a new fresh stone surface, just as it would have looked like when it was laid almost.
You can see here Kev in the video working away, honing the floor using our rotary machine and diamond-impregnated pads.
How We Effortlessly Polish Limestone
Watch how we transform this Seabed Limestone from a dull surface to a polished gloss finish.
From Grim To Glam!
We then mechanically polished the floor to a 3000 grit finish, which gives the floor a beautiful gloss like shine.
The next day we returned to seal the floor with an impregnating sealer for maximum protection.
I love working with limestone, it’s such a beautiful stone to work with and it comes up stunning as well.
Our customer was delighted with the results.
Here’s another similar 👉 limestone project that looks awesome!
Thanks for watching.
And if you know somebody who needs a nudge to get their floors restored…
Give ’em the inspiration they need by sharing this post 😘.
Ok, have a great week! Bye.


